Key takeaways
- Power down and remove the cooler; if the old paste has bonded, gently twist rather than yanking straight up.
- Wipe away all old paste from both the CPU and the cooler base using a lint-free cloth or coffee filter with isopropyl alcohol.
- Ensure both surfaces are completely clean and dry before applying new paste; leftover residue hurts contact.
- Do not touch the cleaned metal surfaces with your fingers, as skin oils reduce thermal transfer.
Thermal paste is the unsung hero of CPU cooling. This grey compound fills the microscopic gaps between your processor’s heat spreader and your cooler’s baseplate, giving heat a smooth path to travel instead of getting trapped by tiny air pockets. Get the application right and your CPU runs cooler and holds its clocks; get it wrong, too little, too much, or old and dried, and you can see temperatures climb by ten or more degrees Celsius.
Applying thermal paste is genuinely easy once you know the technique, and it is a skill every PC owner should have for building, upgrading a cooler, or refreshing an aging system. This guide walks through choosing a paste, cleaning the old compound, applying the right amount, and mounting the cooler correctly so you get the best possible temperatures from whatever hardware you own.
Our top picks


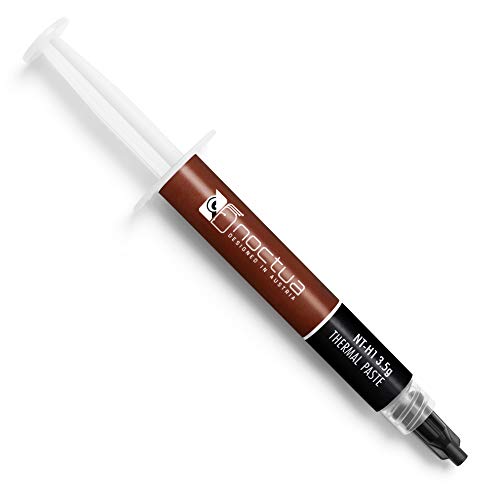


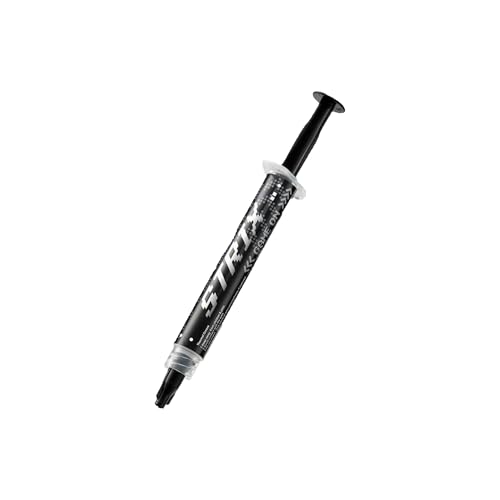
As an Amazon Associate we earn from qualifying purchases at no extra cost to you. Ratings are shown as listed on Amazon.
⚡ Save on Your Next PC — Amazon Prime
Prime members get fast free shipping on the systems above, plus early access to Prime Day & Black Friday PC deals. New members get a 30-day free trial.
Watch: How to Apply Thermal Paste Correctly — Video Review
Choose the Right Paste
For the vast majority of gamers, a quality non-conductive ceramic paste is ideal because it performs excellently and will not short anything if a little strays off the chip. Trusted options like Noctua NT-H1 and NT-H2, Thermal Grizzly Kryonaut, or Thermalright TF4 all deliver strong results and last for years. Liquid metal offers the lowest temperatures but is electrically conductive and risky for beginners, so stick with a proven traditional paste unless you have specific reasons and experience.
Clean the Old Surface
- Power down and remove the cooler; if the old paste has bonded, gently twist rather than yanking straight up.
- Wipe away all old paste from both the CPU and the cooler base using a lint-free cloth or coffee filter with isopropyl alcohol.
- Ensure both surfaces are completely clean and dry before applying new paste; leftover residue hurts contact.
- Do not touch the cleaned metal surfaces with your fingers, as skin oils reduce thermal transfer.
Apply the Correct Amount
Less drama, better results: place a single pea-sized dot in the center of the CPU. When you mount the cooler, its pressure spreads the paste evenly across the surface, which is exactly what you want. Avoid the temptation to manually spread it or to apply a thick layer, since too much paste can insulate rather than conduct and may ooze over the edges. For large or rectangular chips, some prefer a thin line or a few small dots, but the center pea method works reliably for standard CPUs.
Mount the Cooler Evenly
Lower the cooler straight down onto the CPU without sliding it around, then tighten the mounting screws in a diagonal, cross pattern, a little at a time, so pressure is applied evenly. This spreads the paste uniformly and ensures full, flat contact. Uneven mounting is a common cause of high temperatures even with good paste. Once snug, reconnect the fan header, boot up, and check your temperatures to confirm the fresh application worked.
Tips
- A pea-sized dot is enough for most CPUs; resist the urge to use more.
- Tighten cooler screws gradually in a cross pattern rather than fully tightening one at a time.
- Keep a small applicator or the spatula many pastes include if you prefer the spread method on large chips.
- Reapply paste whenever you remove the cooler, even briefly, since the old spread will not reseat properly.
Frequently Asked Questions
How much thermal paste should I use?
About a pea-sized amount in the center of the CPU for a standard processor. The cooler’s mounting pressure spreads it out. Too little leaves gaps and too much can insulate and squeeze out the sides, so the pea method is the safe sweet spot.
Do I need to spread the paste manually?
Usually not. A center dot spreads evenly under cooler pressure and avoids introducing air bubbles that manual spreading can create. Manual spreading is only worth considering on very large or unusually shaped chips.
How often should thermal paste be replaced?
Every two to four years for most users, or any time you remove the cooler. If an older PC’s temperatures have crept up, dried-out paste is a likely and cheap culprit to address.
Is liquid metal worth it?
Liquid metal offers the best temperatures but is electrically conductive, so a spill can damage components, and it requires careful application. For most gamers a top traditional paste delivers excellent results with none of the risk, making liquid metal an enthusiast-only choice.
Conclusion
Applying thermal paste correctly is a five-minute skill that pays off in lower temperatures and steadier performance. Pick a quality non-conductive paste, clean both surfaces thoroughly, apply a single pea-sized dot in the center, and mount the cooler evenly with a cross-pattern tightening. Do that and heat flows freely from your CPU to your cooler, keeping clocks high and fans calm.